My Experience with Rapid Prototyping with WIMTACH and How I Saved Over 8 Hours of Printing Time.
When working at WIMTACH Centennial College, I was tasked with making some design modifications to the PCB case. I wanted to use 3D printing to make the case, so I designed it in SolidWorks based on the dimensions of the PCB.
However, when I received the PCB, I realized that it was slightly different from the original specifications and the mounting holes and locations were different, so I had to modify the case design accordingly. I opened the SolidWorks file and adjusted the measurements to fit the new PCB. Then I exported the file to my slicing software, which prepares the 3D model for printing.
PCB Enclosure by yashraw on Sketchfab
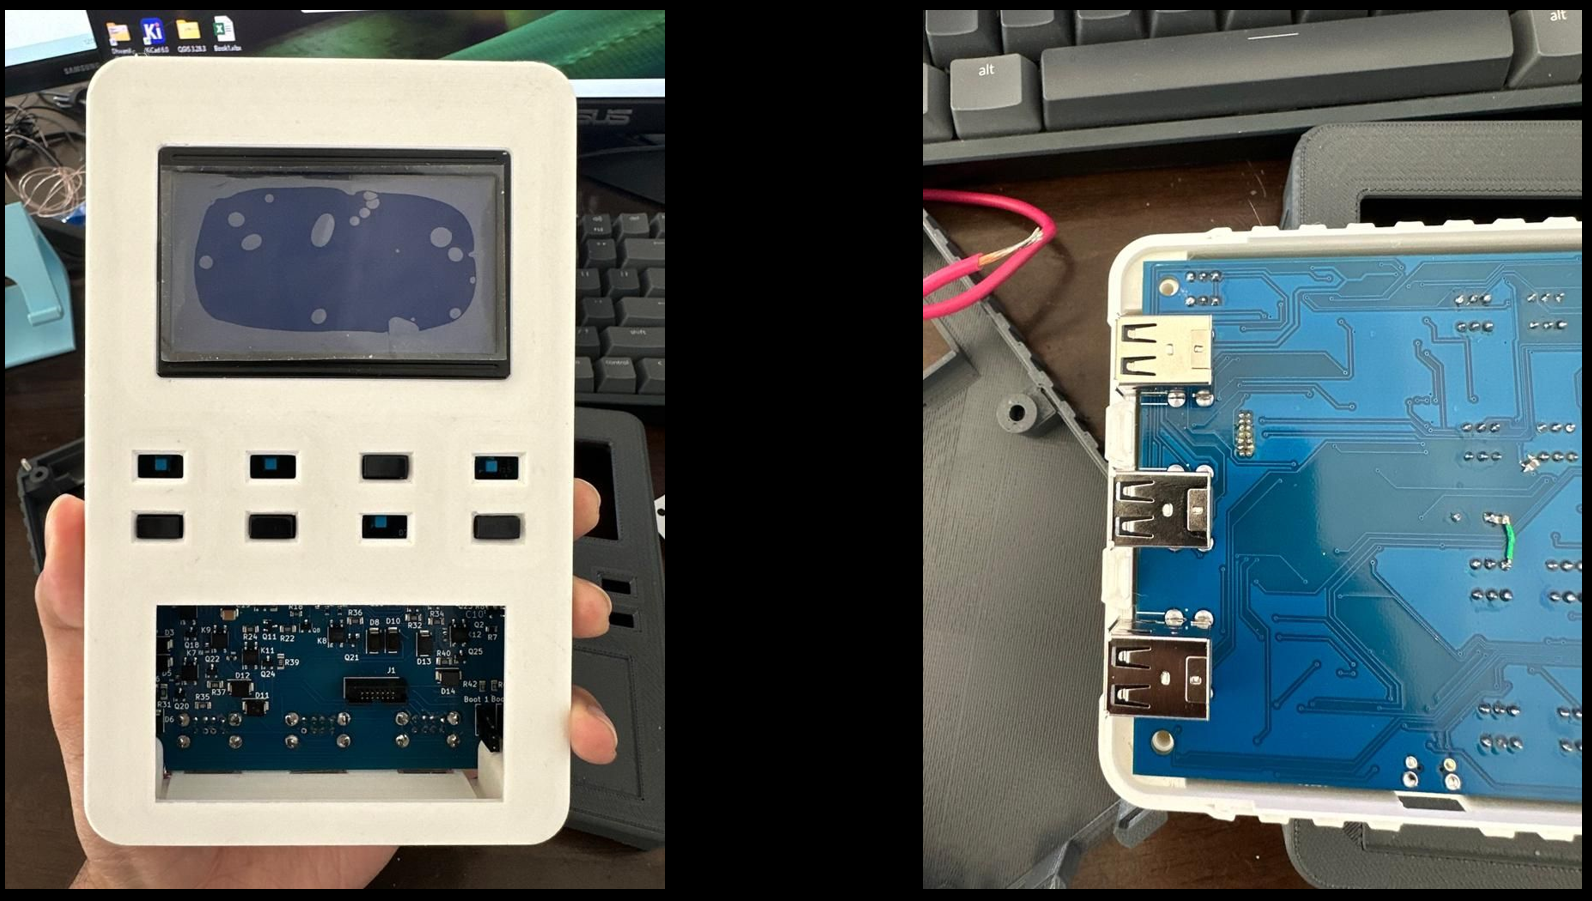
To my surprise, the software estimated that it would take over 8 hours to print the case, which was much longer than I expected. Instead of printing it fully, I created an ‘essential-only’ version of the model which just included the parts that would verify the overall fit and mounting holes.
This case was made with a 20% reduction in thickness, making it more ergonomic and compact, while the simplified version had a 0.6 mm wall thickness — just three layers of print. It served as a paper-thin mockup of the original design, allowing me to validate the fit and geometry before committing to the full print.
The entire process took me less than 20 minutes and saved over 8 hours of printing time — a perfect example of smart iteration and rapid prototyping in action.
What kind of tricks or hacks do you use at your workplace to save time and improve efficiency?